

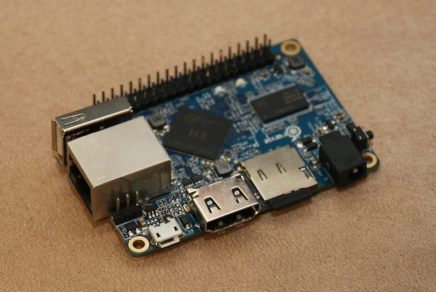
OrangePi-One+ioBroker = OrangeBroker
A simple ioBroker setup – only LAN functionality – for 10″ rack mount.
Basic hardware setup
- Download the latest Armbian image for OrangePi One to your PC – https://www.armbian.com/orange-pi-one/
- If you have problems with „Bullseye“ try „Focal“ which worked fine for me

- Extract it on your PC.
- Flash it to an 16GB SD-card with Balena Etcher – https://www.balena.io/etcher/
- Put SD-card into OrangePi One
- Connect OrangePi One with your LAN
- Connect OrangePi One to your 5V DC power source
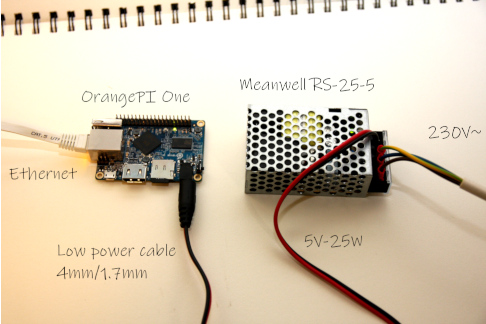
Note
The needed low power plug is a little bit special.
The OrangePi can’t be powered through the USB port like an RaspberryPi!
A low power connector with 4mm outer diameter and 1.7mm inner diameter is needed!
You can order it at Conrad Electronics – Link
Armbian setup
- Download PuTTY – https://www.chiark.greenend.org.uk/~sgtatham/putty/
- Find out the IP address the OrangePi got from your DHCP
- Openn PuTTY and connect to the Pi’s IP
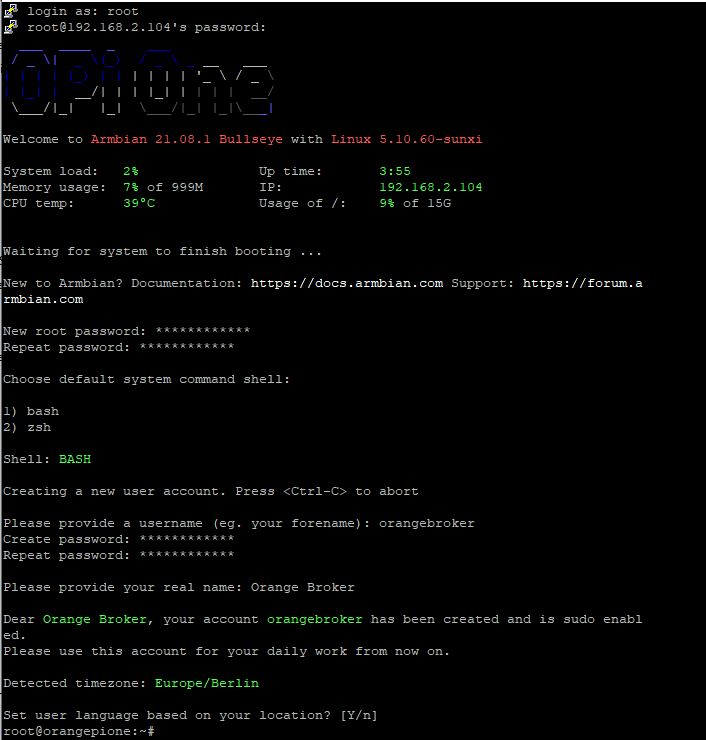
- Use the „root“ user and the initial password „1234“
- Immediately change the root password like Armbian asks for
- Choose bash or zsh – I chose bash
- Create a new user account like asked – use „orangebroker„
- Set a password as asked
- Choose language settings as asked
- Reboot the board if asked – or reboot anyway.
Set network address
- if you want to set a fix ip address use the following command to modify settings
$ sudo nmtui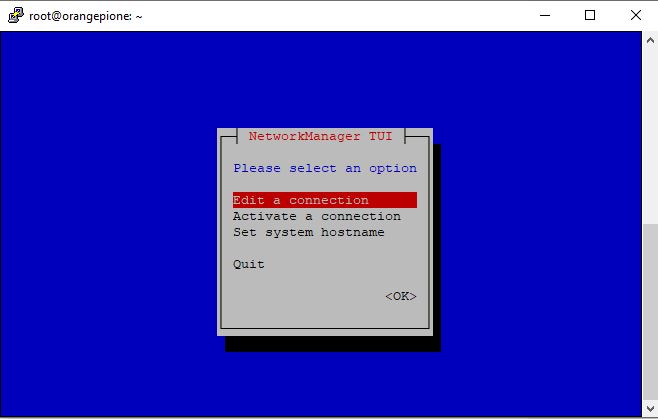
- Set your preferred network address via „edit a connection„
- Change hostname to orangebroker (if you want to)
Install ioBroker
- Install ioBroker with the following command – like proposed on the ioBroker webpage.
curl -sLf https://iobroker.net/install.sh | bash -- If successful you should see something like that:

- Re-login and reboot
Setup ioBroker
- Access the service on port 8081 on the OrangePi’s IP address and you will see the welcome page on first load
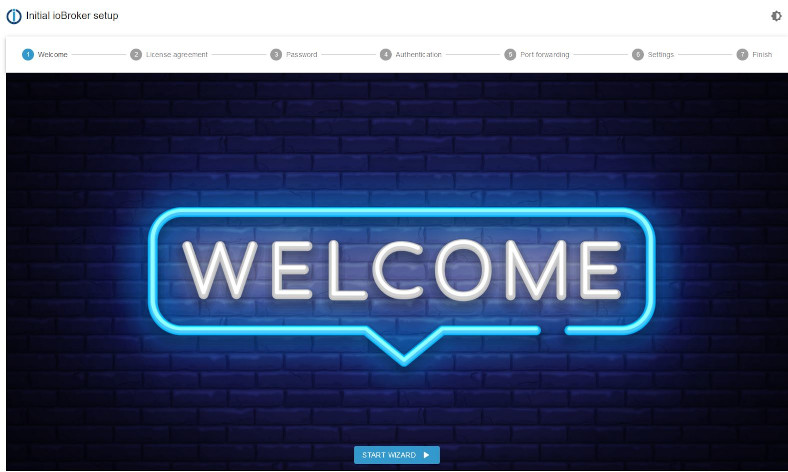
- Follow the „START WIZARD“ and setup the system to your needs
- The setup is completely guided
- More information is available on ioBroker’s webpage
10″ Rack
https://www.thingiverse.com/thing:5266812
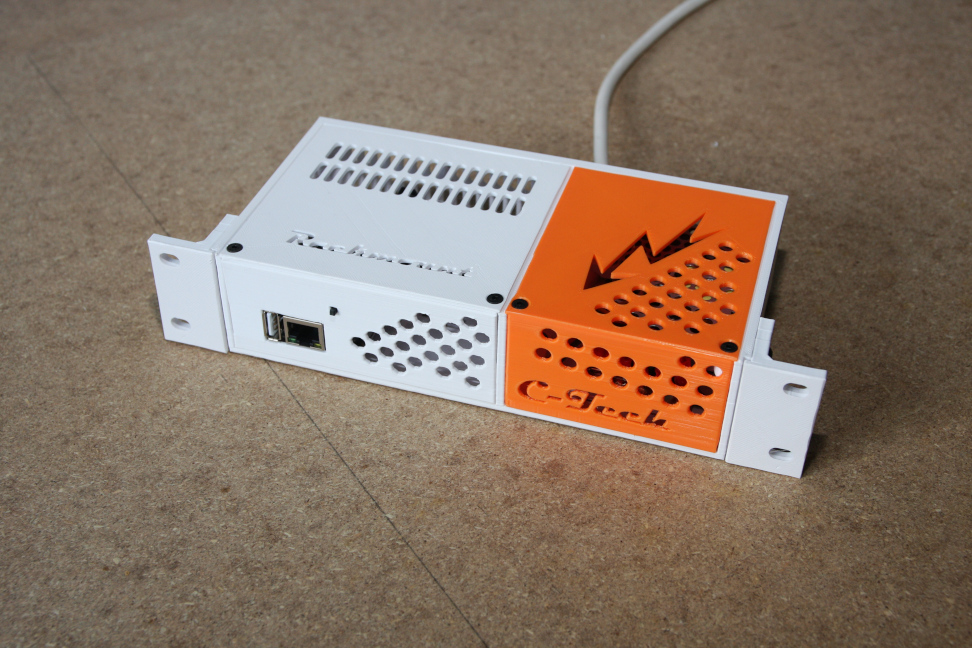
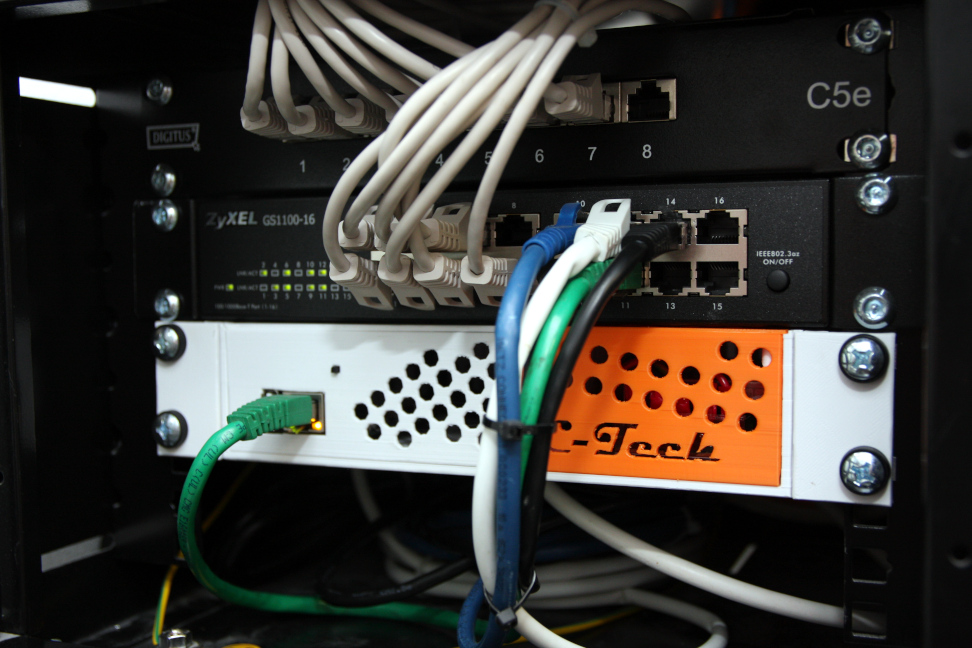
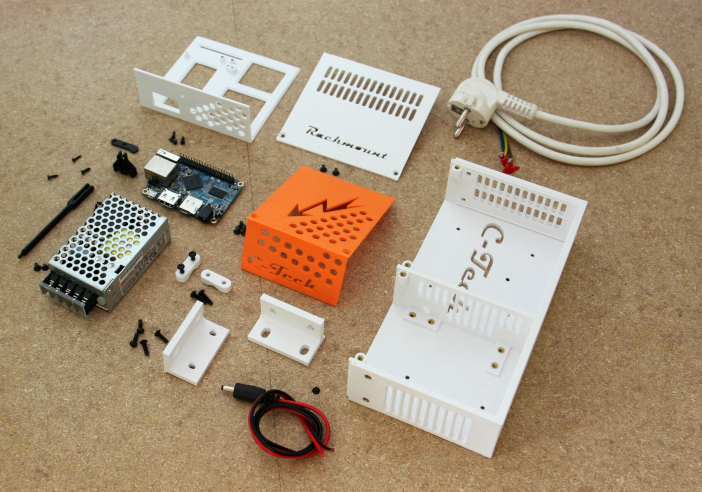
- A 3D-printed 10″ enclosure is a fast and good looking possibility to include the Orange Broker into your local environment.
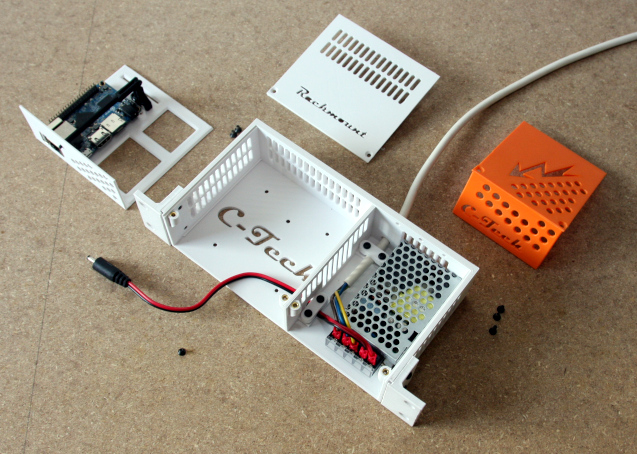
- All you need for this enclosure is M3 screws and M3 press-fit nuts, cage nuts, some meters of filament and patience.
- The enclosure is made to carry one MeanWell power supply. A RS-25-05 or a RS-15-05
- For sure you need the OrangePi, the cabling and the power supply. But you need this anyway.
- You can find the files and some more pictures on Thingiverse.
- The enclosure is available for a OrangePi One as well as for a RaspberryPi 4B and a OrangePi PC3
- Something to say? Leave a comment….